Coffee Nook Ideas: 5 Tips for a Clutter-Free Coffee Bar
This post contains product links. As an Amazon Associate, I earn from qualifying purchases made through these links. Learn more.
After years of rushing through our mornings with a quick splash of lukewarm water over instant coffee granules, we are finally returning to the luxury of slow mornings, fresh aromas, real morning conversations, and spaces intentionally designed for a ritual. However, as the morning routine comes back into focus, so do the design challenges—specifically, how to balance a love for specialized brewing gear with the reality of limited counter space. That is exactly where smart coffee nook ideas earn their keep.
The goal isn’t to accumulate every gadget on the market, but to build a home brewing setup that feels warm, functional, and deeply reflective of the way you actually live. That might mean turning a dead corner into a cozy coffee corner, sourcing a gorgeous vintage espresso machine, or editing out the mismatched accessories that no longer bring you joy.
When it comes to executing a flawless kitchen coffee station, organization is the quiet mood-setter of your entire morning routine. Here, we look at the five smartest ways to organize your space, cut through the countertop friction, and elevate your daily brew.
1. Go Vertical: Coffee Nook Ideas with Floating Shelves or Tiers
Stop Expanding Horizontally
Before you let your coffee canisters, sugar bowls, and syrup bottles take over your entire meal preparation area, think about how your counter space actually functions. Spreading your gear across a wide surface area pushes functionality out and creates visual clutter. A dedicated brewing space should be contained and efficient.
Look Up for Extra Real Estate
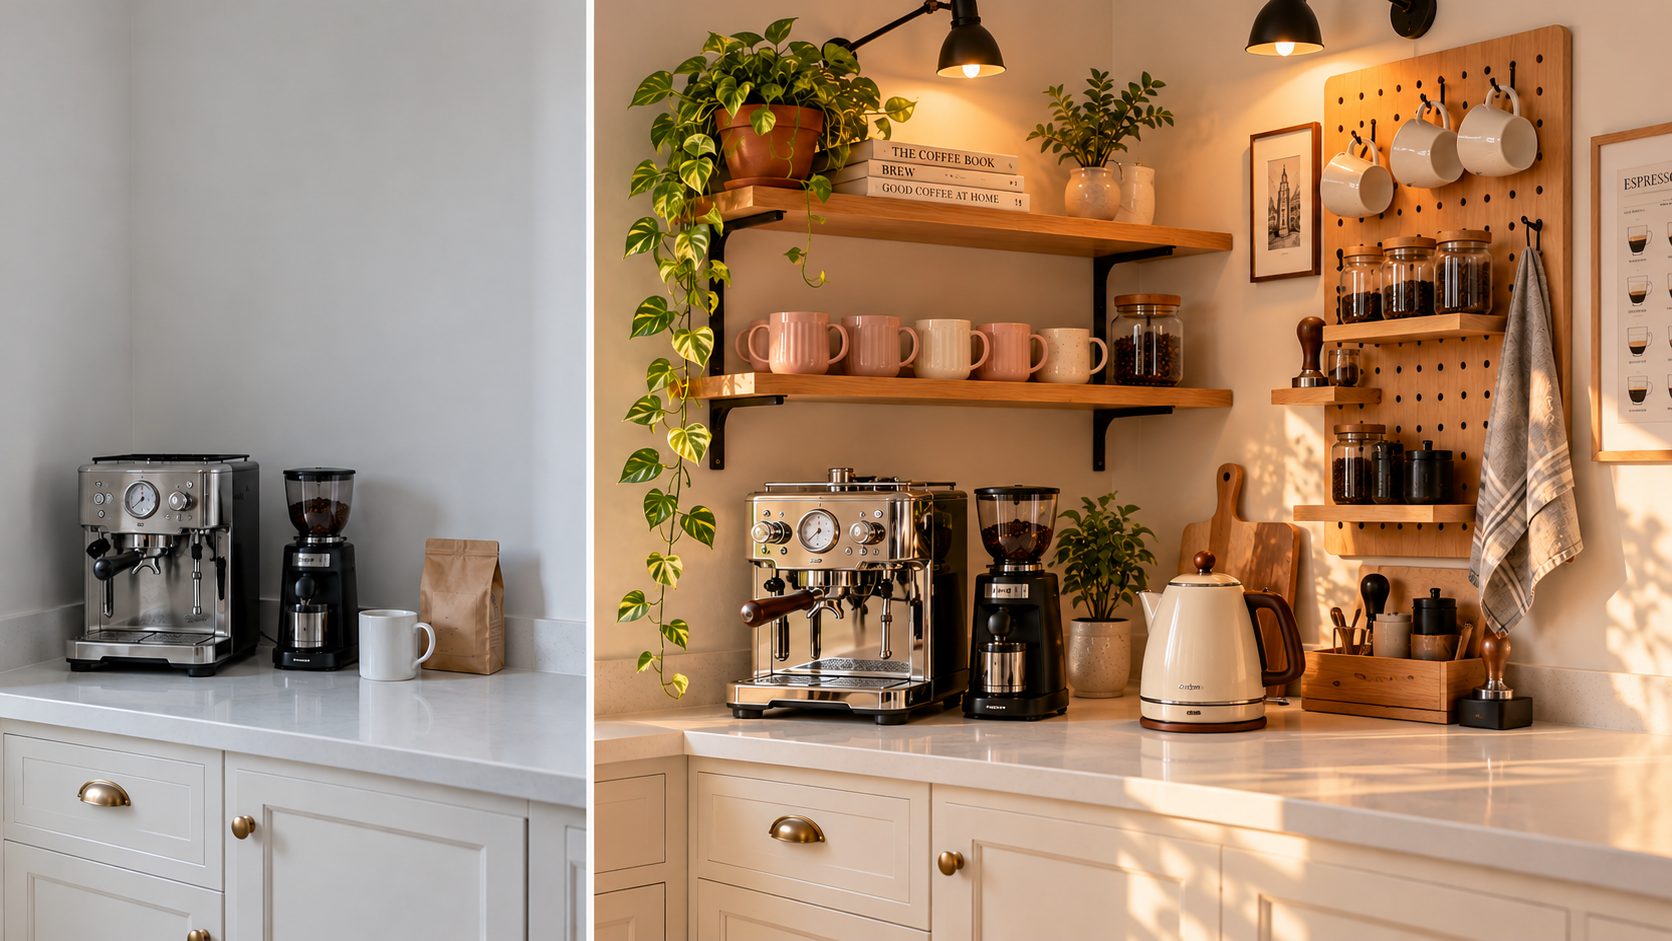
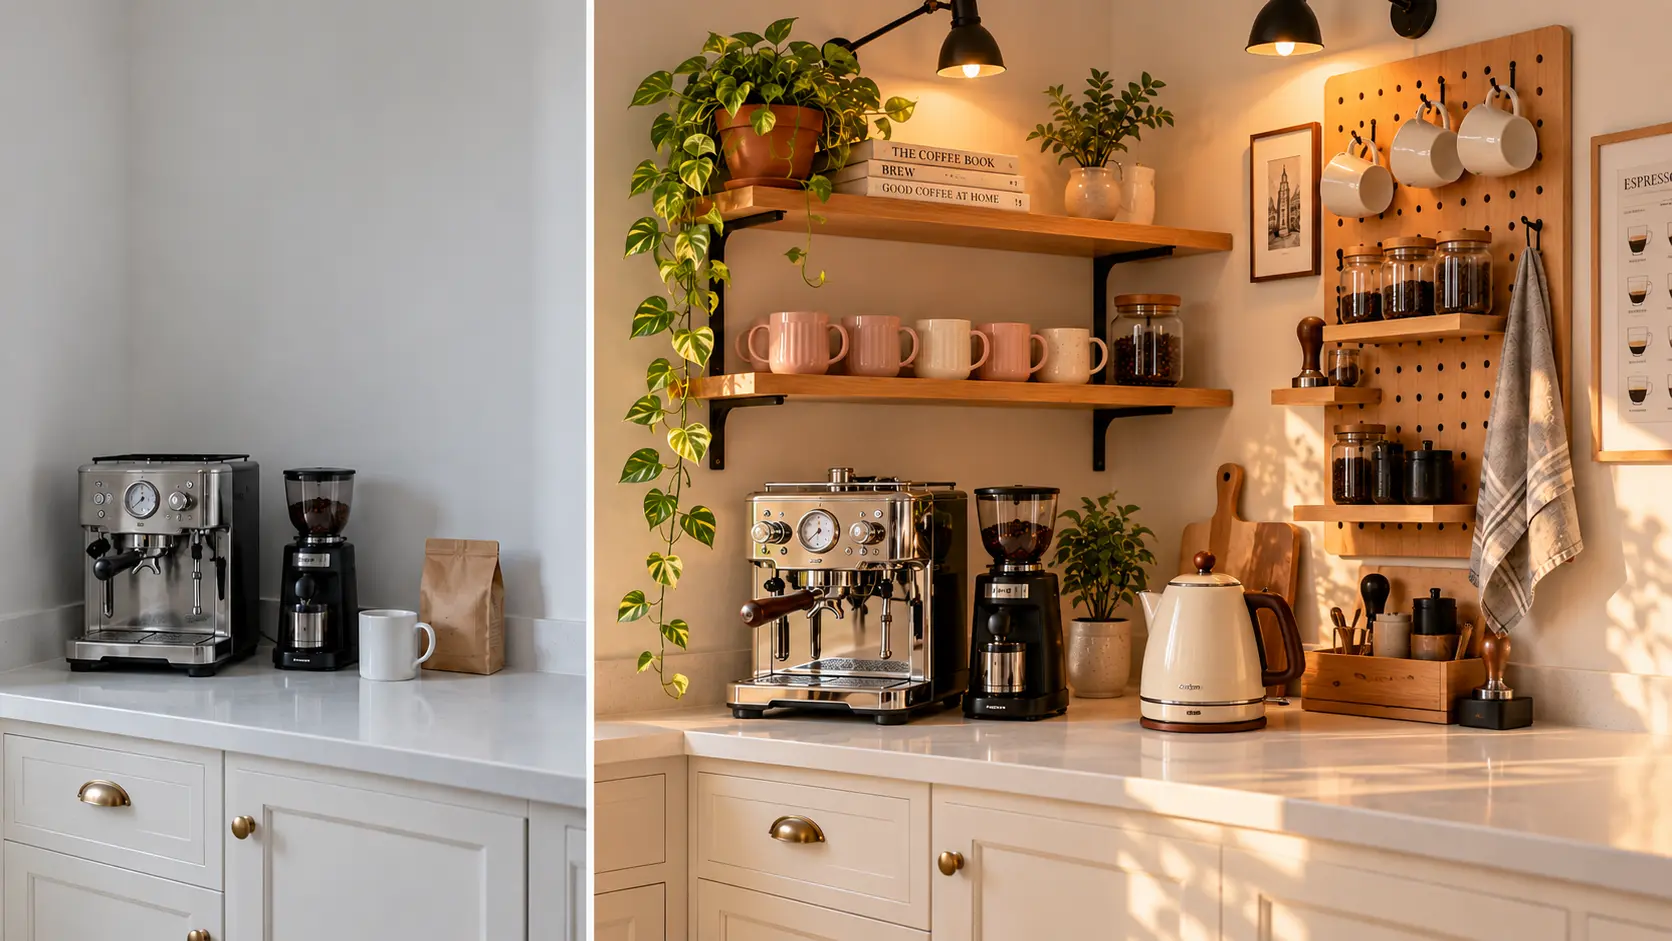
To avoid that overcrowded countertop look, designers recommend shifting your storage upward. Installing open floating shelves directly above your kitchen coffee bar immediately clears horizontal surface area while keeping your essentials within arm’s reach.
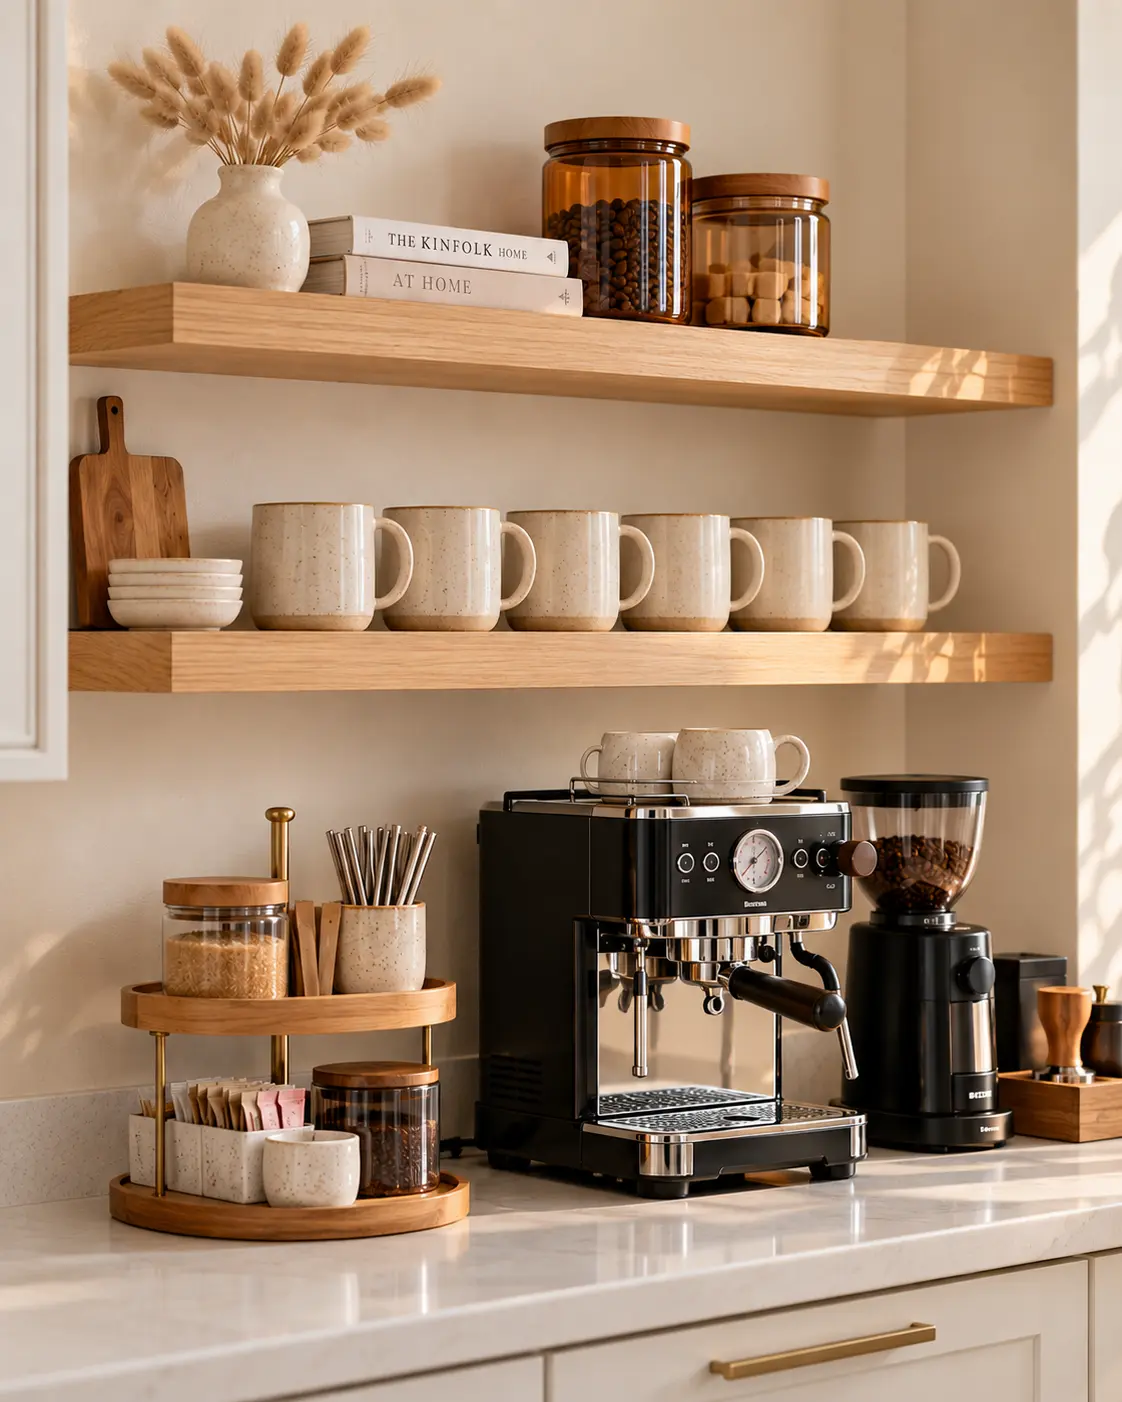
How to Layer Your Vertical Space
- The Top Shelf: Reserve this zone for less frequently used items or light aesthetic touches, such as extra espresso cups, a small plant, or a piece of framed art.
- The Lower Shelf: Keep your daily go-to mugs and bean canisters here for easy grabbing.
- The Tabletop Tier: If you cannot drill into your walls, a beautifully crafted two-tiered wooden tray or marble lazy Susan achieves the same vertical zoning right on your counter.
When the backdrop is calm, considered, and vertically structured, every single piece of your coffee gear has more breathing room.
2. Implement the "First-Touch" Pod and Filter Strategy
Conceal the Commercial Packaging
Nothing disrupts a beautifully curated coffee nook faster than bulky, colorful cardboard pod boxes and loose, crinkled paper filters sitting out in the open. To build a space that feels curated rather than commercial, it is best to remove items from their original retail packaging.
Streamline Your Morning Workflow
The “first-touch” philosophy dictates that the items you need to touch first to get your machine running should be the easiest to access. Position your coffee mediums—whether whole beans, grounds, or single-serve pods—directly adjacent to or beneath your coffee machines for home brewing.
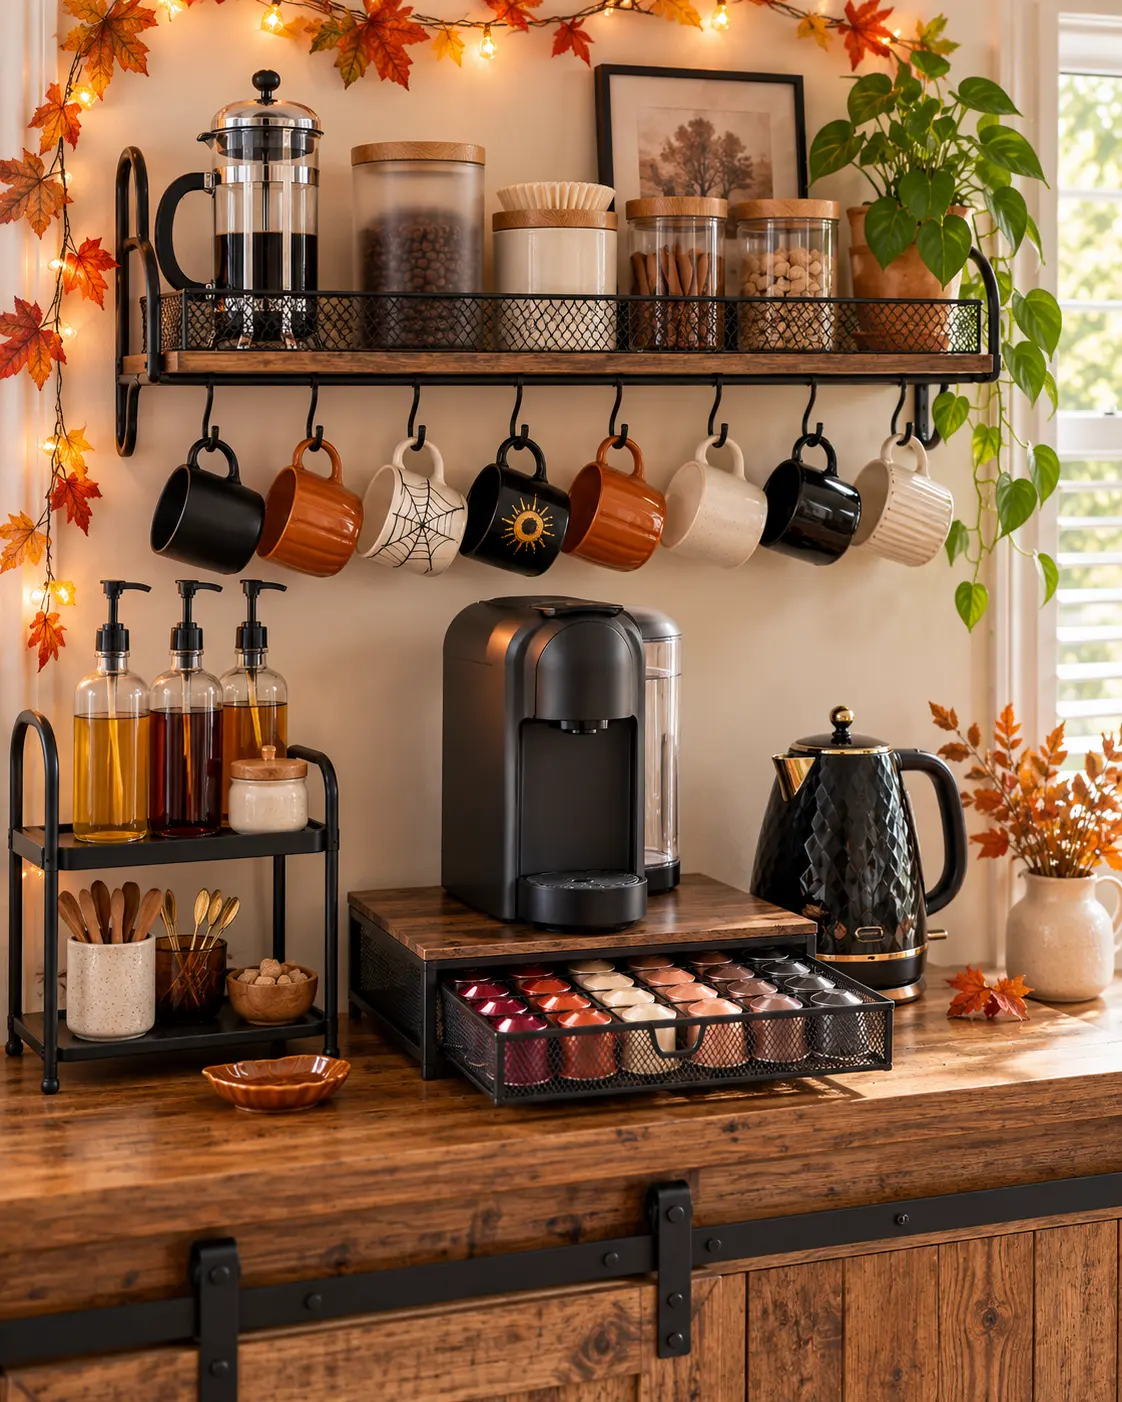
Clever Storage Configurations
- Under-Machine Drawers: Anchor your pod machine on top of a low-profile glass or matte metal sliding drawer designed specifically for capsule storage.
- Aesthetic Canisters: For whole beans or paper filters, look for frosted glass jars with blonde oak lids or ceramic containers that turn basic utility into a quiet design feature.
3. Group Syrups and Toppings on an Anchor Tray
Contain the Sticky Mess
If your morning routine includes flavored lattes or a dash of cinnamon, you are likely familiar with the inevitable sticky rings left behind by syrup bottles. Instead of letting these bottles wander across your countertops, designate a strict boundary for them. It is one of the simplest coffee nook ideas to pull off in a single afternoon, and it pays off every morning.
Create a Cohesive Story
A common organizational mistake is letting various retail bottles sit out individually, which creates a chaotic “copy-and-paste” energy from a grocery store shelf. Treat your flavorings like curated ingredients by gathering them onto a singular anchor tray.
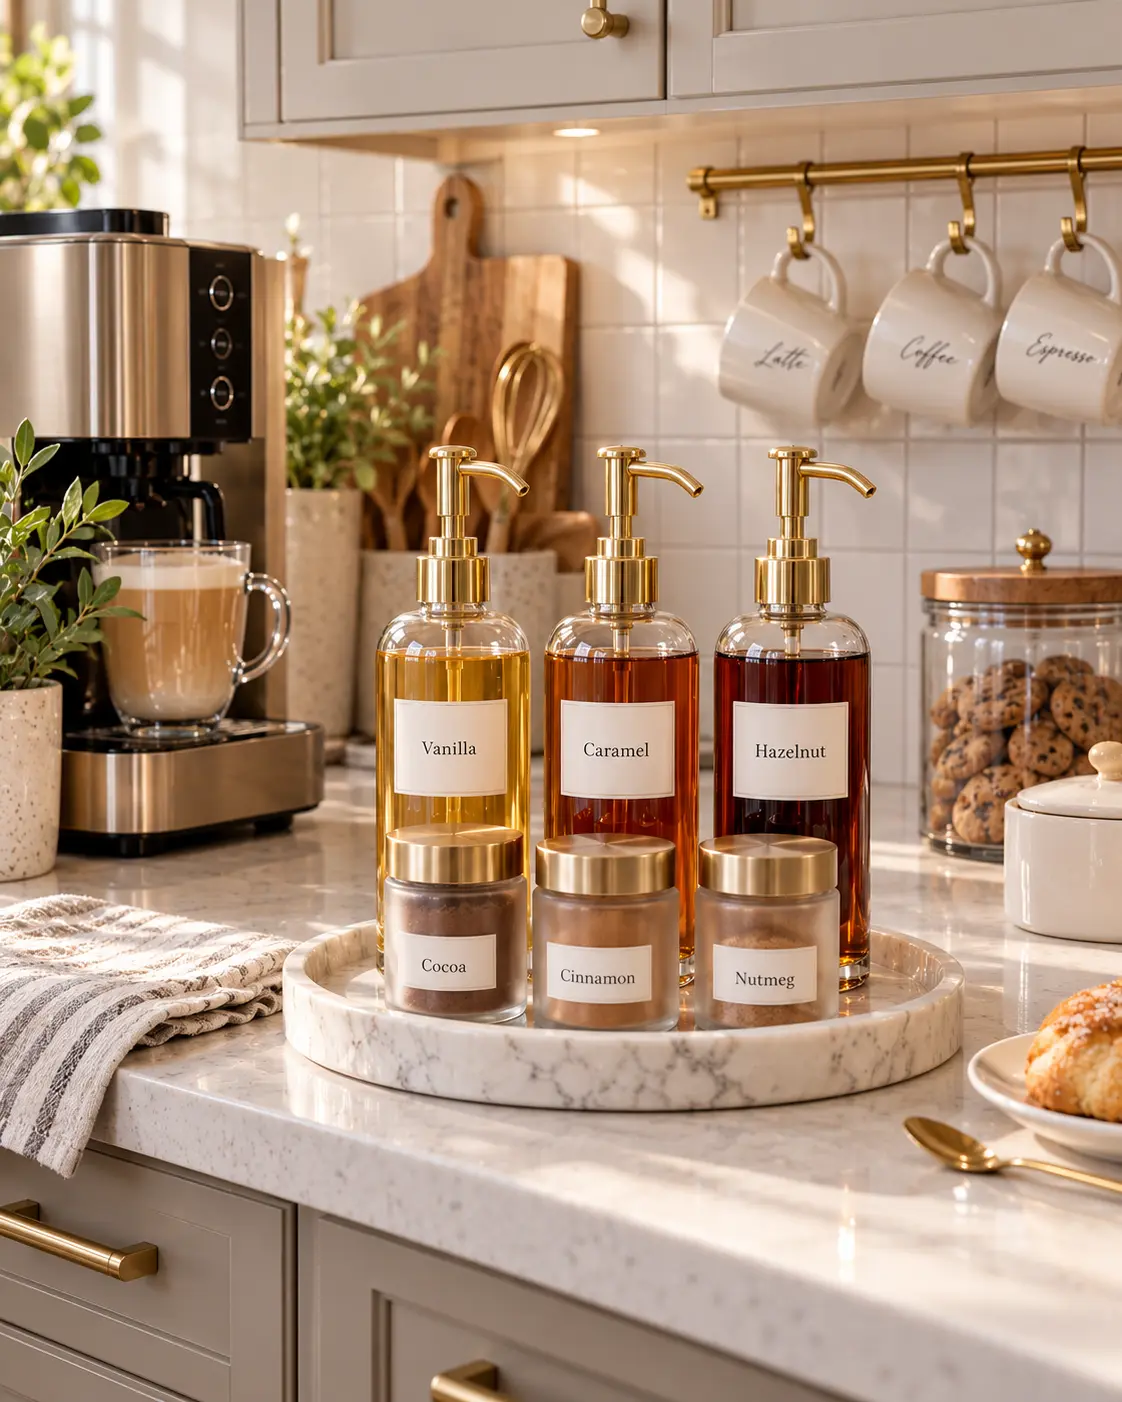
Elevating the Liquid Station
- The Anchor Base: Use a solid marble, slate, or ceramic tray. Trays are vastly easier to pick up and wipe down in one swift motion than moving five individual sticky bottles.
- Uniform Decanting: Replace branded plastic syrup bottles with uniform glass dispenser pump bottles featuring minimalist, waterproof labels.
- Spices: Group matching shaker bottles for cocoa powder or nutmeg on the exact same tray to keep your flavor station completely unified.
4. Streamline Mugs with Selective Curation
Pick a Cohesive Theme
Designers recommend ruthlessly editing your daily selection. Bring out only the mugs that connect to the visual story of your kitchen—whether that means matching a specific color palette, a hand-thrown ceramic texture, or a uniform shape in your primary kitchen coffee station. But still, don’t forget to add character by including your favorite mugs (we want your cozy, not a showroom).
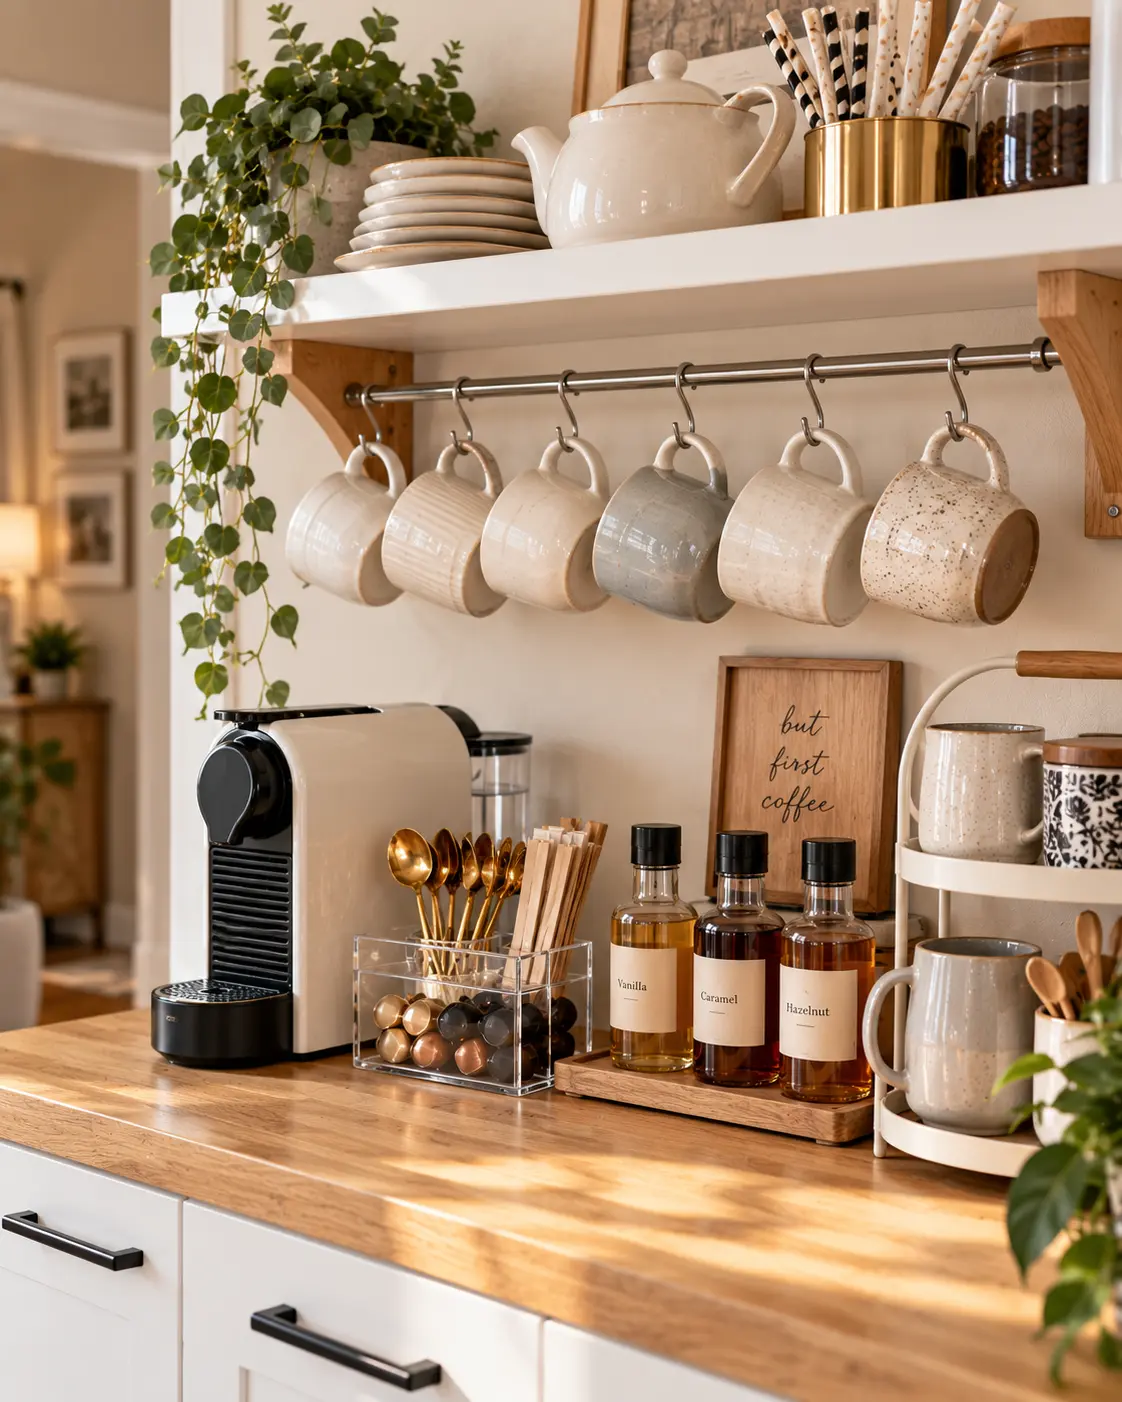
Elegant Hanging Systems
Instead of crowding your main counter surface, experiment with sleek hanging alternatives to keep your curated mugs organized:
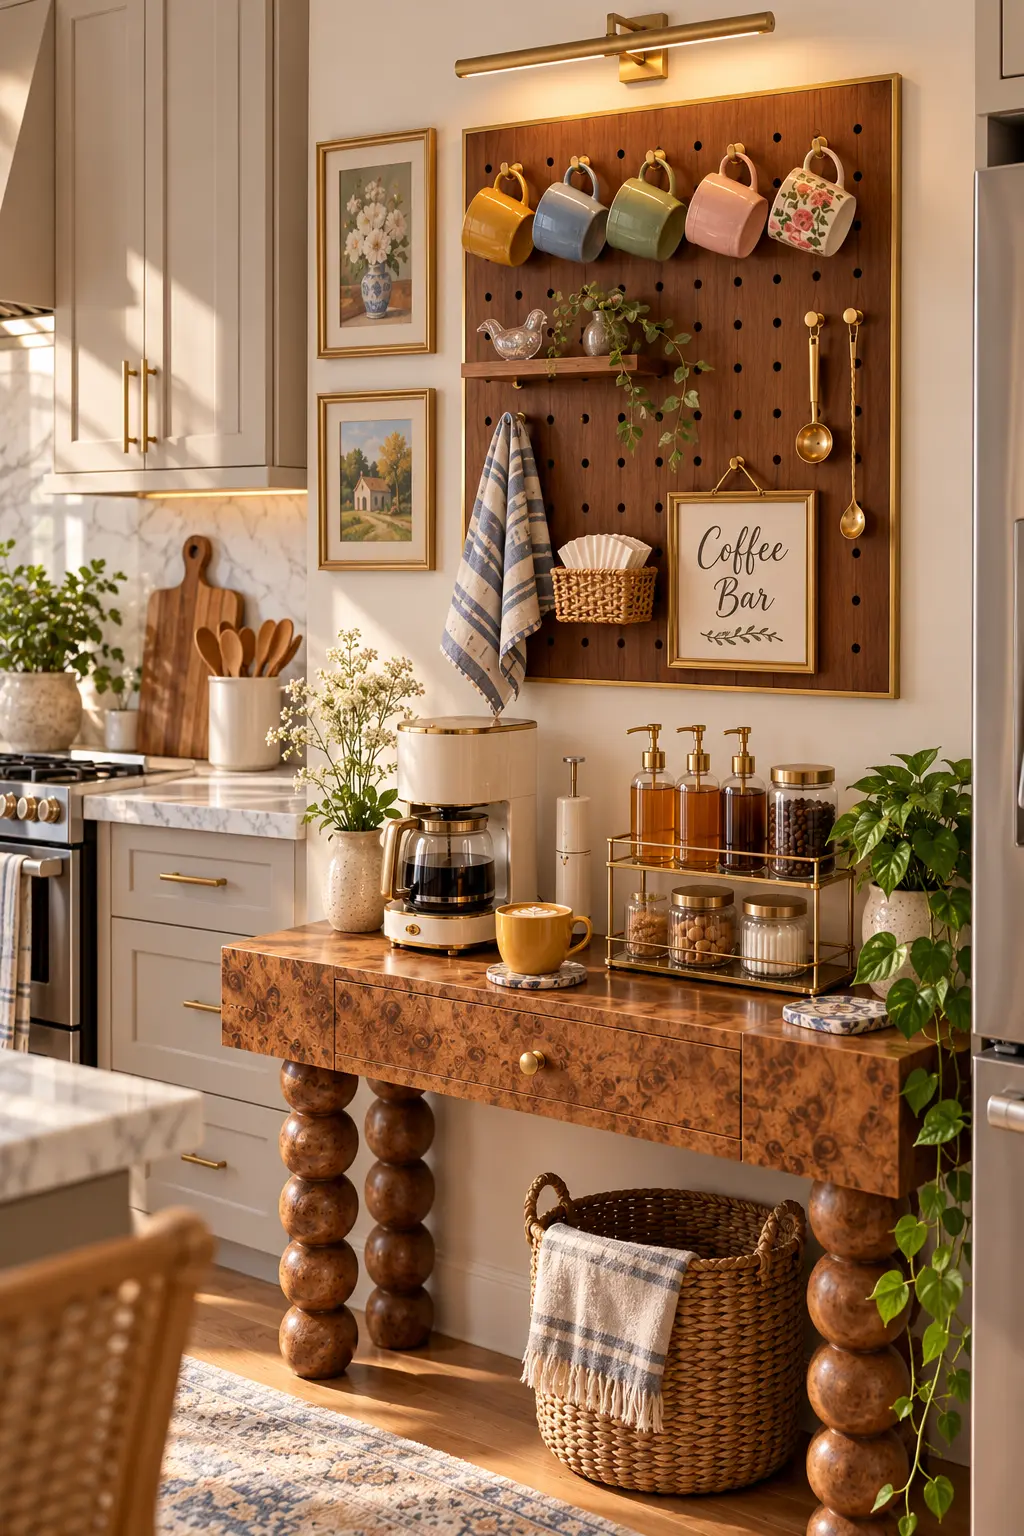
- Under-Cabinet Hooks: Install minimalist screw-in hooks underneath your upper cabinetry to hang cups cleanly above the espresso machine.
- Wall-Mounted Pegboards: Hang a metal or wooden pegboard or accordion rack to turn your favorite mugs into a functional piece of wall art.
- The Rotation Rule: Keep only 4 to 6 core mugs at the station, and store the rest of your sentimental overflow tucked away inside your upper kitchen cabinets.
5. Tame the Tech: Cord Management and Appliance Placement
Hide the Infrastructure
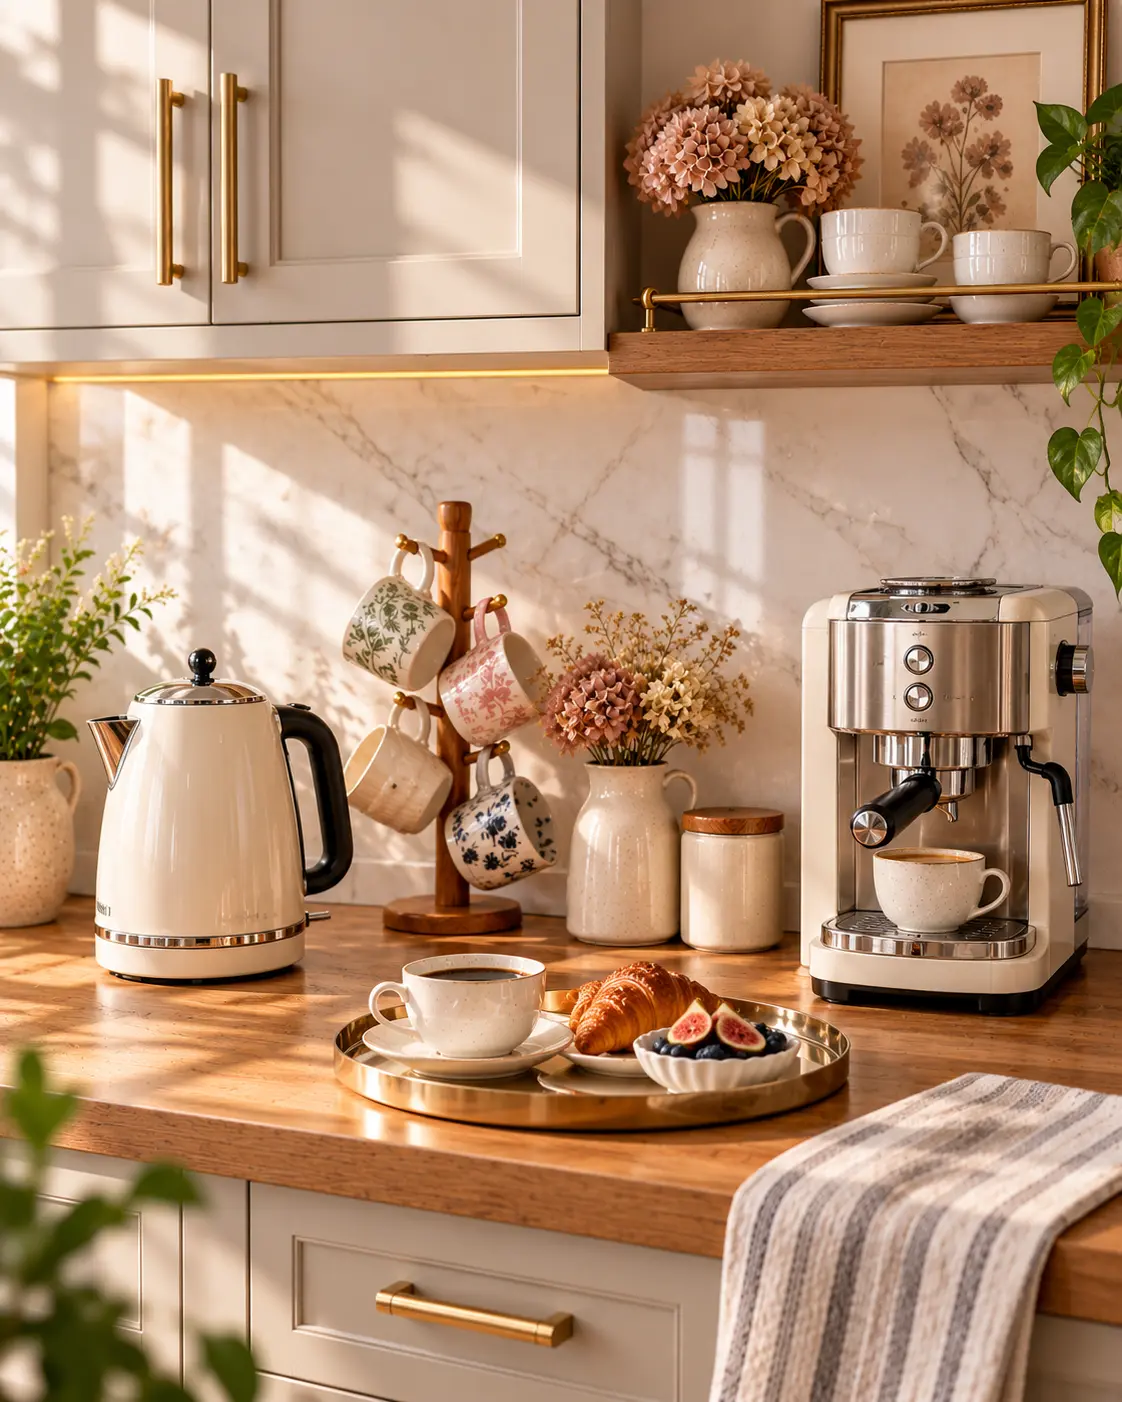
High-end coffee station ideas often look incredible in photos because the messy infrastructure is completely hidden from view. In reality, a heavy espresso machine, a separate grinder, and a gooseneck electric kettle mean dealing with a tangled web of thick black electrical cords.
Strategic Layout Planning
Take your appliance measurements seriously and plan their placement relative to your kitchen’s outlets and dimensions. Managing your tech correctly protects your home and keeps the space looking effortless.
Actionable Cord Management Steps
- Stick-On Cord Wraps: Attach small plastic cord organizers directly to the back of your coffee appliances to wind up excess cable slack out of sight.
- Protect Your Cabinetry: Position steam-producing appliances—like electric kettles or steam wands—away from the immediate underside of upper wood cabinets to prevent long-term moisture and heat damage.
- Appliance Sliders: If you are housing your gear inside a structured kitchen cabinets coffee bar, use rolling appliance slider trays. This allows you to smoothly pull the entire machine forward to refill the water reservoir without awkward lifting.
Ultimately, the best coffee nook ideas turn a beautifully organized home coffee bar into a personal sanctuary dedicated to comfort and your preferred morning pacing. By editing out the mess and structuring your tools intentionally, your morning brew will feel less like a chore and more like a gentle embrace to start your day.
- All Posts
- Aesthetic Lovers
- Cozy Foundations
- Great Finds
- Home Chefs
- Intentional Parents
- Pet Lovers
- Productivity Seekers
- Room Inspirations
- Smart Finds